How to create a waiter and allocate a table using Gleeca?
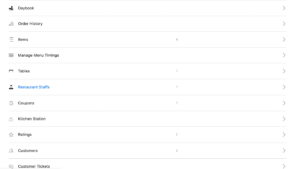
Creating a waiter account will allow waiters to login into your Gleeca account and digitalise the waiter operations. To create your waiter account, you need to go to your branch menu and click the “Restaurant Staffs” button.

Then click the “Create New” button to create your first waiter account. Gleeca allows you to create unlimited waiters.
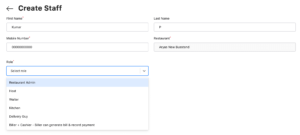
You need to enter their First & Last Name, Mobile Number, select waiter under “role dropdown”, and enable the Login Credentials toggle button.

You will see the user name for your waiter, which is autogenerated. Create a password and click the “Create” button.

Now you have successfully created a waiter for your restaurant branch.

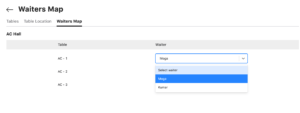
To manage the dine-in operations effectively, you need to configure tables for a waiter. One waiter shall manage one or more tables. To map a waiter to a table, you should go to “Tables” from the branch menu.

Once you select the waiter for a table, your responses will automatically be saved. Hope this article helped you to create a waiter and map them to a table.